
Why Clean, Sound, and Smooth Surfaces Help Paint Last Longer and Look Better
Proper surface prep matters because paint sticks best to a clean, dry, solid surface. If the wall has dust, grease, loose paint, or cracks, the new coat may peel, bubble, or look rough. Before interior painting starts, prep work helps the finish look even and last longer. In homes around San Leandro, CA, this step can also help with old patch marks, everyday wear, and hidden wall damage.

Quick Diagnosis Summary
When paint fails too soon, the surface under it is often the real problem. Many people think better paint alone will fix the issue. That is not always true. Even good paint can fail on a dirty or damaged wall. The base has to be ready first. That is why proper prep is such a big part of successful interior painting.
Common Symptoms
Bad surface prep can show up fast or take time to appear. In some rooms, the paint may look fine at first. Then small problems start to show after days or weeks. These signs often point back to the wall, trim, or ceiling under the paint.
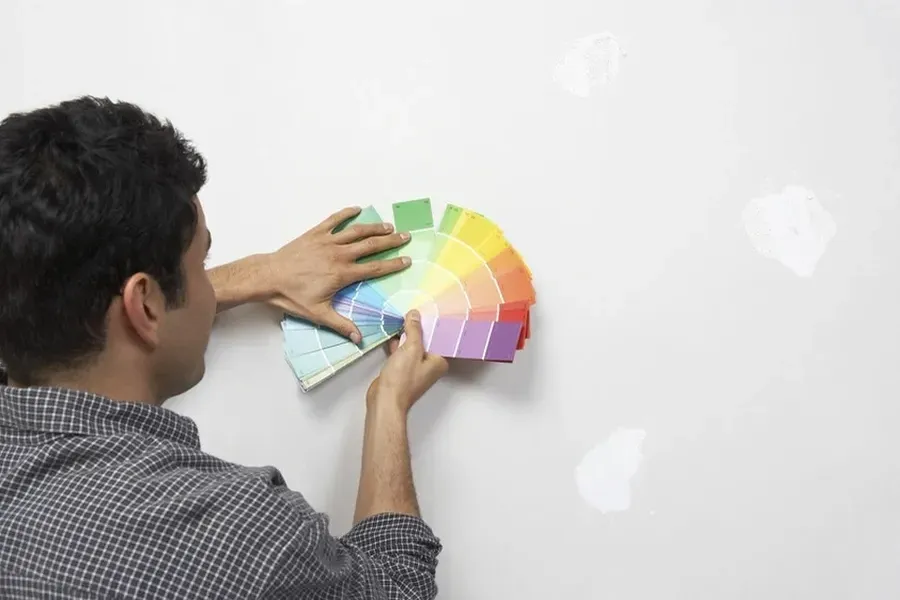
- Peeling or flaking paint
- Bubbles or blisters
- Streaks, lap marks, or patchy color
- Dust bumps trapped in the finish
- Cracks showing through fresh paint
- Glossy spots where paint did not bond well
- Stains bleeding through the new coat
These issues can happen in bedrooms, hallways, kitchens, and baths. They are common when walls are washed the wrong way, not sanded, or painted before repairs are dry.
Likely Causes
Most paint problems have simple causes. Dirt and oil block adhesion. Loose old paint creates weak spots. Moisture can get trapped under the coating. Holes and dents make the wall look uneven. Glossy trim may reject new paint if it is not sanded first. In older homes, years of patching can leave walls with mixed textures that stand out after painting.
The service category keyword may be blank here, but surface prep still applies across many paint jobs. It matters for walls, ceilings, trim, doors, and other indoor surfaces. Good prep is not extra. It is part of the job.
What to Check First
Before painting starts, take a slow walk through the room. Look at each surface in normal light and with a lamp if needed. Run your hand over the wall. A wall can look smooth but still feel gritty, sticky, or uneven. Small checks at the start can help avoid a lot of cleanup later.
- Check for dust, grease, and smoke film.
- Look for nail holes, dents, and hairline cracks.
- Test for peeling or loose old paint.
- Find water stains or soft drywall spots.
- Notice glossy areas that need sanding.
- Make sure patched areas are fully dry.
- See if the room has high humidity.
If you find more than one of these issues, the prep may take longer than the painting itself. That is normal. A smooth result often comes from patient work before the first coat goes on.
Safe Fixes Vs Pro-Level Fixes
Some prep tasks are simple and safe for a homeowner. Washing light dirt off walls, filling tiny nail holes, and light sanding are common first steps. Taping trim and covering floors also help the job stay neat. If the wall has minor marks from daily use, these basic steps may be enough before interior painting begins.
Other problems need more skill. Large cracks, water damage, skim coating, heavy smoke residue, and deep stains can be harder to handle. So can walls with failing old layers of paint. If prep is rushed in these cases, the new finish may not hold up. Strong repairs, stain blocking, and even texture matching may be needed for a clean result.
Prevention Tips
The best way to avoid paint trouble is to treat prep as part of the project, not a small side task. A little extra time before painting can save a lot of trouble later. This is true in busy family rooms, kids’ rooms, kitchens, and baths where walls take more wear.
- Clean surfaces before sanding or priming
- Let washed walls dry fully
- Scrape loose paint before new coats go on
- Use filler for holes and sand repairs smooth
- Prime stains and patched spots
- Do not paint over dust
- Use the right prep method for trim and drywall
Good prep also helps color look more even. Without it, flat spots and repairs may flash through the finish. This can stand out even more in bright light from windows or overhead fixtures.
Final Recommendation
If you want paint to look better and last longer, start with the surface. The wall or trim under the paint shapes the final result. Clean, repair, sand, and prime as needed before the first coat. That simple order can help prevent peeling, uneven color, and rough texture. For homes in San Leandro, CA, local wear and past repairs can make prep even more valuable. If you want help getting surfaces ready the right way, contact MZ Painting. Call (510) 361-7525 and let us help you plan a paint project that starts with solid prep and ends with a finish our team would be proud to stand behind.