
Get Seams Smooth, Clean, and Ready Before Any Primer Goes On
To handle drywall seams before painting, start by checking for loose tape, bumps, cracks, and rough joint compound. Then sand the area smooth, patch any weak spots, clean off dust, and apply primer before paint. If seams are not flat and sealed first, paint can make every flaw stand out. In San Leandro, CA, this step can help walls look cleaner and last longer.
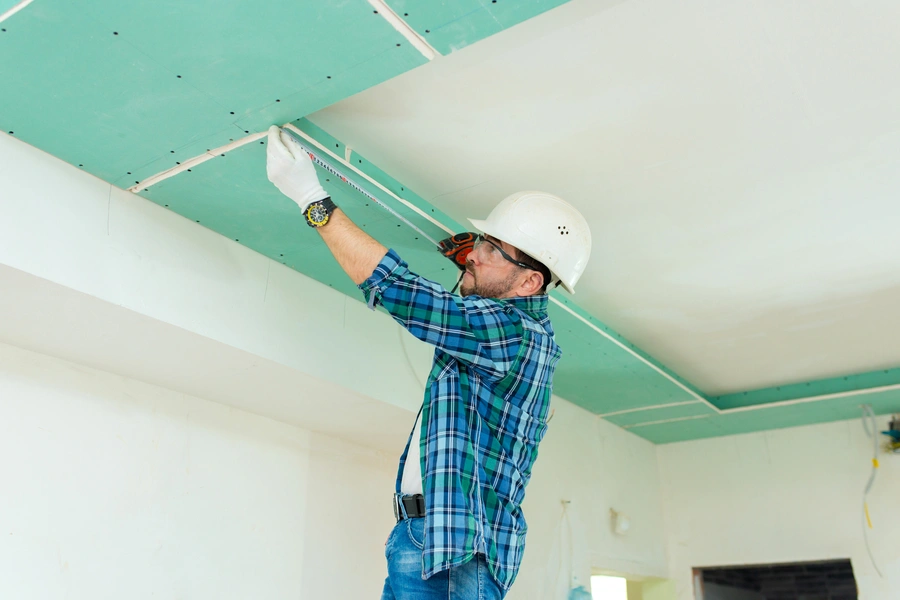
What You Need Before Starting
Before working on the wall, gather a few basic tools and supplies. This keeps the job simple and helps you move from one step to the next without stopping. If the wall came from recent drywall installation, give it a close check first. New seams may look fine from far away but still need touch-up work up close. This type of prep matters in drywall installation and even in general home repair work.
- Drywall knife
- Sanding sponge or fine sandpaper
- Joint compound
- Drywall tape if tape is damaged
- Dust brush or vacuum
- Clean cloth
- Primer made for new or patched drywall
- Good light to spot ridges and dips
A bright work light helps more than many people think. Shine it across the wall, not straight at it. Side light makes seam lines, raised edges, and dents easier to see.
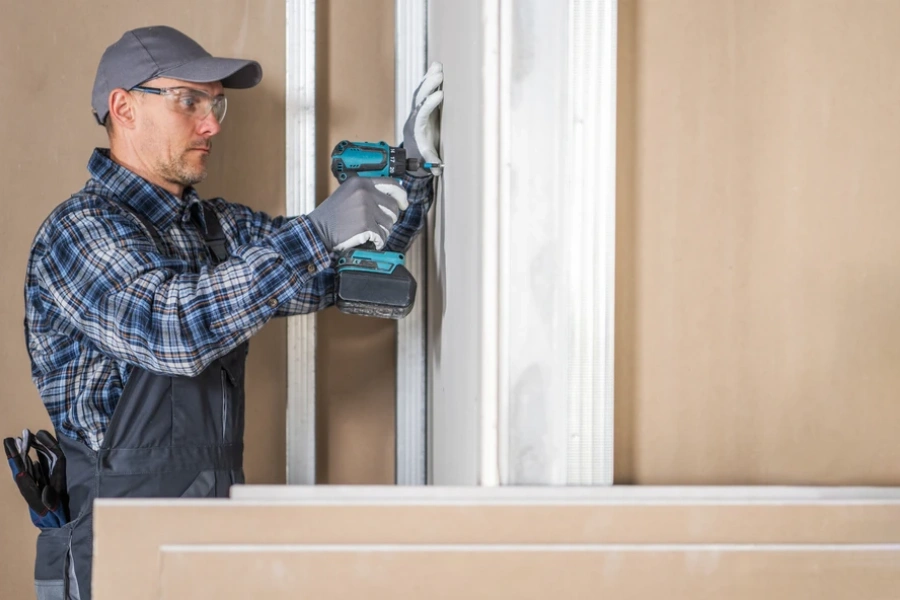
Step-by-Step Process
The best way to handle drywall seams is to work slowly and fix small problems before they turn into bigger ones. Paint does not hide bad seams. It often makes them easier to notice.
- Check every seam closely. Look for cracking, lifting tape, pinholes, or ridges.
- Run your hand over the seam. If it feels raised, it will likely show through paint.
- Scrape off any loose compound with a drywall knife.
- Cut out damaged tape if needed, then apply fresh tape and a thin coat of compound.
- Spread joint compound over low spots and seam lines in thin layers.
- Let each coat dry fully before adding another one.
- Sand the area smooth with light pressure.
- Wipe or vacuum off all dust.
- Prime the repaired area before painting the full wall.
Thin coats are better than thick ones. A thick patch takes longer to dry and is harder to sand flat. Two or three light coats often give a much better finish than one heavy coat.
Common Mistakes to Avoid
Many seam problems happen during prep, not painting. One common mistake is sanding too little. Another is sanding too hard and damaging the paper face of the drywall. Both can lead to ugly paint results.
Here are a few other mistakes that can cause trouble:
- Painting over dusty seams
- Skipping primer on patched areas
- Using too much joint compound at once
- Not waiting long enough for compound to dry
- Ignoring small cracks or bubbles in tape
Another mistake is only looking at the wall straight on. Seams can hide until light hits from the side. Check from more than one angle before calling the wall ready.
When a Seam Needs More Than a Simple Patch
Some seams need more work than a quick skim coat. If the tape is peeling in long strips, the seam keeps cracking, or the wall has movement behind it, the issue may not be just surface deep. In that case, patching the top layer may not last.
Water stains are another warning sign. If a seam has staining, swelling, or soft drywall, find the source of moisture before making repairs. Painting over a damp problem usually leads to more cracking, bubbling, or mold later.
If a wall was part of older drywall installation, there may also be uneven framing or past patch jobs under the surface. That can make a seam keep showing even after repainting.
When to Call a Professional
You may want professional help if the seams run across a large ceiling, if cracks keep coming back, or if the wall has many bad patches already. Ceilings and long wall seams are hard to blend well, especially under bright light. A pro can also help if texture needs to match nearby surfaces.
People often call for help after trying to paint first and seeing every seam line show up. That is very common. It is usually easier to fix the surface before more coats go on. A trained crew can spot whether the problem is bad finishing, poor tape bond, moisture, or movement in the wall.
Best Final Check Before Paint
Before opening the paint can, do one last inspection. The wall should feel smooth, look even, and be free from dust. Primed patches should not flash or stand out much from the rest of the wall. If one seam still catches your eye now, it will likely stand out even more after paint dries.
Walk the room in daylight if possible. Then check again with indoor lights at night. Different lighting can reveal flaws that were easy to miss earlier. A few extra minutes here can save hours of repainting later.
Get Help With Smooth Wall Prep
If you are in San Leandro, CA and want clean, paint-ready walls, we can help. At MZ Painting, we handle seam prep, repairs, and drywall installation with care. Call us at (510) 361-7525 to talk about your project and let us help you get a smoother finish.