
Simple Wall Prep Steps for a Smoother Project
The best way to prepare walls before drywall installation is to start with a clean, dry, level framing surface. Remove old nails, check for moisture, fix loose studs, and plan for wiring or plumbing before any panels go up. Good prep helps the new wallboard sit flat, cuts down on cracks, and makes finishing much easier.
Quick Answer
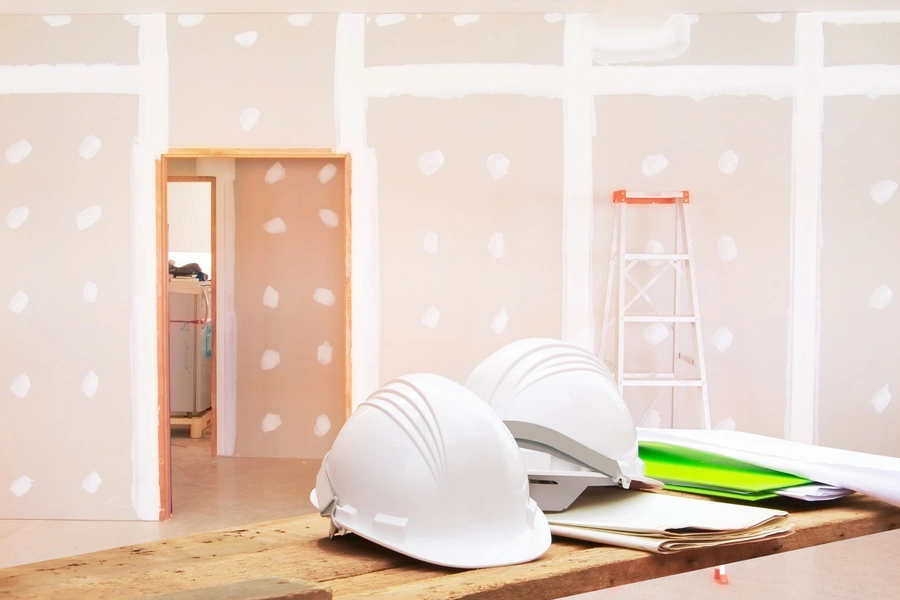
If you want better results from drywall installation, wall prep comes first. The surface behind the drywall needs to be solid and ready. That means checking the framing, cleaning the area, and making repairs before the first sheet is lifted. Skipping these steps can lead to uneven seams, popped fasteners, and wasted time later.
What You Need Before Starting
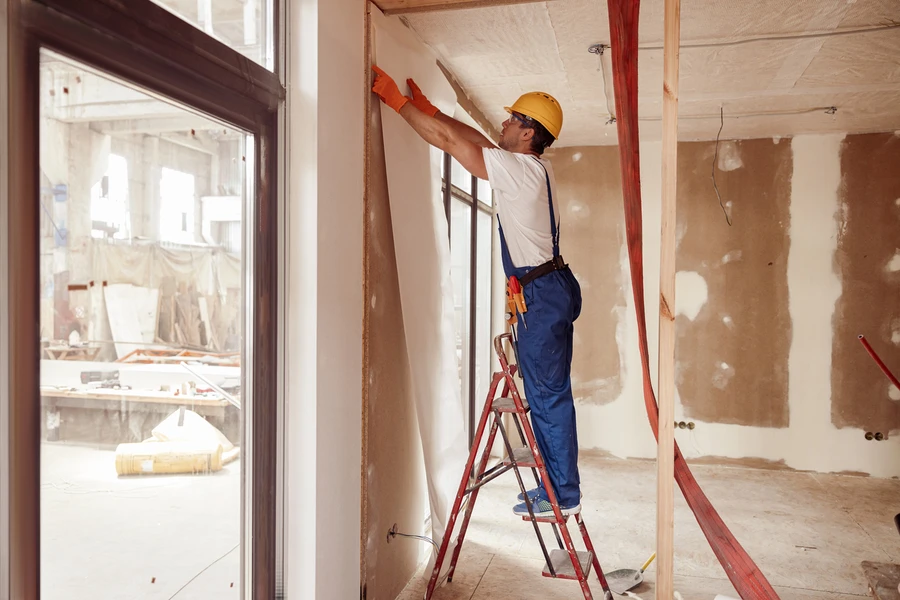
Before starting, gather a few basic tools and supplies. Having everything ready can help the job move faster and with fewer stops. Even if this is part of a larger home update in the service category keyword, the prep work stays much the same.
- work gloves
- safety glasses
- tape measure
- level or straightedge
- utility knife
- hammer or drill
- broom or shop vacuum
- moisture meter if needed
- stud finder for repair work
- trash bags for debris
You should also check that all electrical and plumbing rough-ins are done. Once drywall installation begins, getting back inside the wall becomes much harder.
Step-by-Step Process
Wall prep does not need to be hard, but it does need to be done in the right order. A simple plan helps you catch small issues before they become bigger ones.
- Remove old nails, screws, and loose wall pieces. Anything sticking out can push the drywall forward.
- Clean dust and debris from the wall area. Dirt can hide damage and get in the way.
- Inspect studs for warping, cracks, or water damage. Crooked framing can make the finished wall look wavy.
- Tighten or replace loose studs. A firm frame gives the drywall better support.
- Check for moisture. Drywall should not go over damp areas because mold and damage may follow.
- Mark stud locations clearly. This helps with faster fastening once panels are in place.
- Confirm wiring, outlets, and plumbing lines are set where they belong. Make changes now, not later.
- Add blocking where needed for heavy items like shelves, towel bars, or wall-mounted TVs.
- Use a level to spot uneven areas. Shims can help fix small framing dips.
- Plan sheet layout before hanging. Good layout can reduce waste and make seams easier to finish.
These steps make drywall installation smoother and help the final wall look cleaner. They also lower the chance of needing repairs soon after the job is done.
Common Mistakes to Avoid
Many wall problems start before the drywall is even hung. A rushed prep job can lead to poor results, even with good materials.
- hanging drywall over wet framing
- ignoring bowed or twisted studs
- forgetting to add backing for fixtures
- leaving nails or screws sticking out
- not checking outlet box depth
- starting before inspections are done
- using damaged framing without repair
Another common mistake is not thinking about the finish stage. If studs are uneven, taping and mudding become harder. Small prep fixes can save many hours later.
When to Call a Professional
Some prep tasks are simple. Others need a trained crew. If you find mold, major water damage, broken framing, or electrical work that is not finished, it is smart to bring in a professional. The same goes for large rooms, tall walls, or older homes where surfaces may be out of square.
A pro can also help if you are unsure how flat the wall frame needs to be for drywall installation. Slight framing issues may seem minor, but they often show up once the panels are in place. Getting expert help early can prevent visible seams, soft spots, and cracked corners.
Final Recommendation
Preparing walls the right way gives your drywall installation a better base from the start. Clean framing, dry materials, and careful checks can make a big difference in how the finished room looks and holds up. If you slow down during prep, the rest of the project usually goes much better.
Get Help With Your Next Project
If you are planning work in San Leandro, CA, we can help you get the walls ready the right way. MZ Painting handles drywall installation with careful prep and clear communication. Call us at (510) 361-7525 to talk about your project and see how we can help.